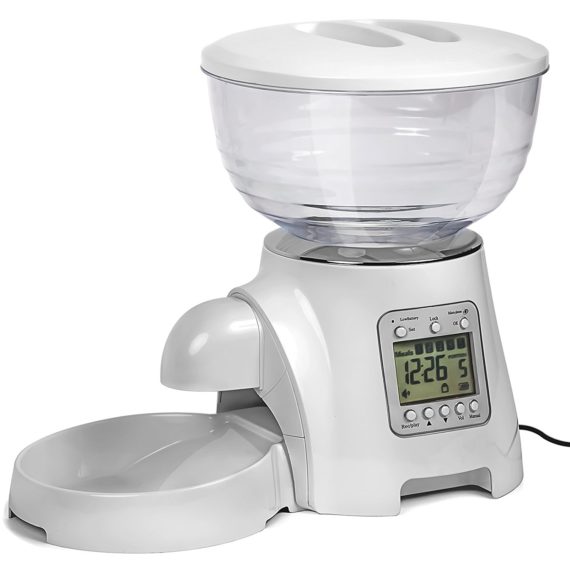
My wife’s cat is fat. She (the cat) has a love-hate relationship with eating because it inconveniences her tight schedule of sleeping around the clock. To squeeze eating into her periods of activity, she goes on crazed binges of food inhalation that generally result in projectile vomiting undigested food across the house. Tired of stepping in cold piles of kitty vomit, my wife ordered this:
I’m sure this thing was supposed to work great. I never got to test out the functionality of the feeder itself, because it would not keep time – set it for 9:54pm, come back 10 minutes later, and the LCD would still read 9:54pm. Great for Marty McFly, not great for fixing kitty food binges. After struggling with the thing for half-an-hour, crouched on the floor in a dark corner next to the litter box, I was about to hurl the thing at the cat and take care of both problems ( you PETA). A few days later we got news from the company that they had refunded our money, but didn’t want the old feeder shipped back. Time to break out the big guns, it’s hackerman time.

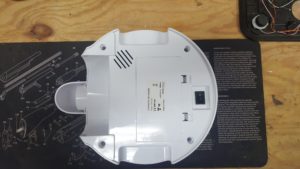
Taking apart the feeder was simple, a few screws on the bottom gave access to everything inside. The individual components connected to the main board via labelled connectors and color coded wires, which surprised me. The idea here is to do away with everything except the power connections and the motor connections.
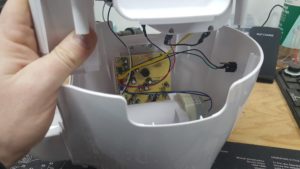

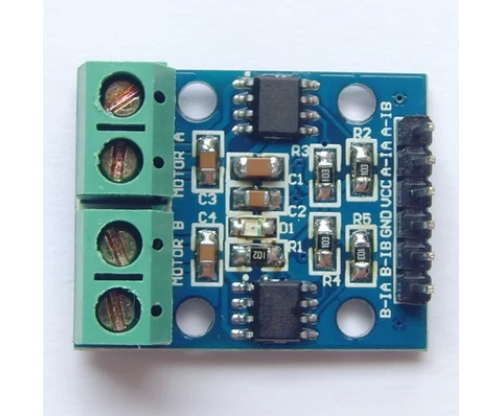
I wanted to make this thing a little more 21st century, and what’s cooler than IoT? I had a spare Wemos D1 Mini laying around (boasting the ever-popular ESP8266 wifi-enabled microcontroller), so I got to work. First thing to do is figure out what to use to drive the motor. I had a look at the motor circuit that was already present and found this:
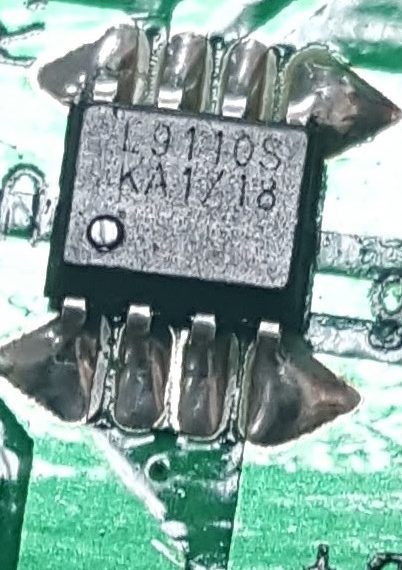
The L9110S is a motor driver, and it’s available in a convenient breakout with two drivers meant for driving small robots. I only needed one to drive the auger motor that pushes food into the bowl, but at $3.70 it was hard to pass up the easy-to-use dual board.
OK, now lets write some code. Bear in mind this code is not well optimized, but it’s been working great for me. It will occasionally lose it’s network connection and report 0.0.0.0 as it’s IP. Bugs certainly exist, but it works fine 95% of the time. If it stops responding, a quick hard power reset is all that’s needed to get it working again.
The Wemos hosts a simple webpage that lets a user change the desired feeding time, and the desired feeding amount. The ‘amount’ depends fully on what kind of food is in the feeder, as the auger is programmed to come on for a set amount of time, and has no idea what kind of food it’s pushing out. So I did some testing and found the run time that would give kitty a 1/4 cup of food. I’ll run through the major blocks of code to describe what’s going on at each step.
You can grab the current code from github!
SETUP
First things first, get connected to wifi. Although it’s not included in the repo for security purposes, you just need to add a ‘config.h’ file with the following contents to let the Wemos know what network you wish to connect to:
char ssid[] = "Insert SSID Here";
char pass[] = "And Password Here";
Next we setup which pins will be used to drive the motor. One for PWM, and one for the direction. Next big step is setting up the EEPROM. I chose to use this nonvolatile storage area to put the currently set time and feeding amount so they didn’t have to be re-entered every time power to the device was lost. The setup code looks for a schema value (a pre-defined hex value) written at the first address of the EEPROM to determine whether or not EEPROM has been accessed and set up before. If no schema is found, it blanks all addresses, writes the schema, and commits the default time and amount values. If a schema IS found, we grab the previously stored values.
Next we set up the framework for Over-The-Air updates, which allow us to reprogram the Wemos without having to take the cat feeder back apart.
Last, we start the server with three endpoints – the homepage, a results page, and a FeedNow page.
HANDLE CLIENT
This function serves the html to the client whenever someone visits the root directory of the Wemos. It shows the currently set feeding time and amount, the IP Address of the Wemos, a form that allows you to update the amount and time variables, and a button to immediately feed the currently set amount of food. There are various supporting functions to validate that the users input matches the expected input (a time needs to be XX:XX format, and an amount should be a non zero integer from 1 – 9), storing new values to EEPROM, serving the results or feednow pages, and more.
TIME
I didn’t want to add an RTC to the board and have to deal with external battery backups and the like. And since this thing functions on the web, I elected to just query time.nist.gov every 30s to get an updated time. If the time reported from time.nist.gov (corrected for your local time zone) matches the desired feeding time, on comes the motor.
DISPLAY
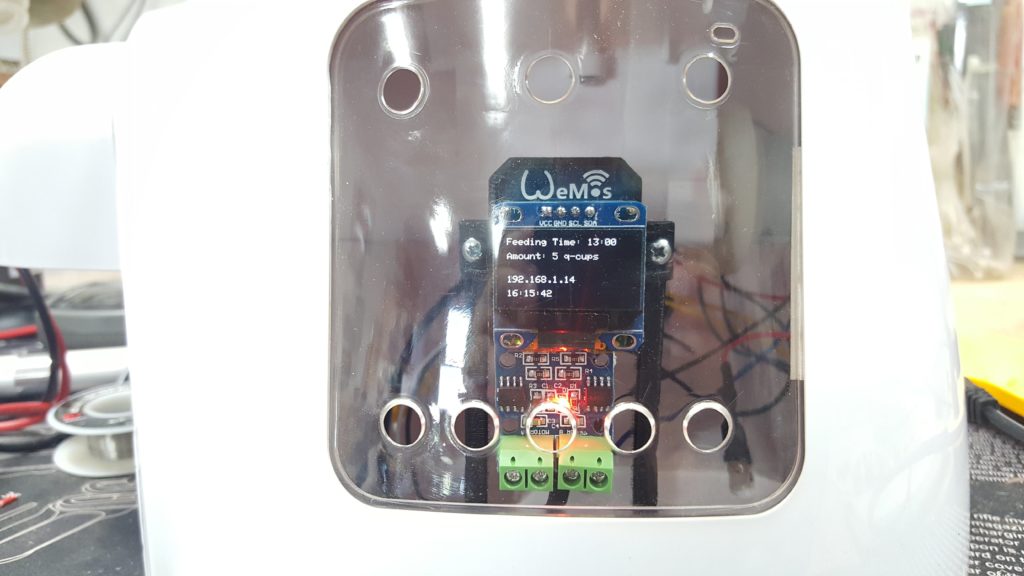
I got a neat little SPI / I2C display that shows the current time from the webserver, the current IP, current time/amount values, and a little cat animation as feeding is about to occur.
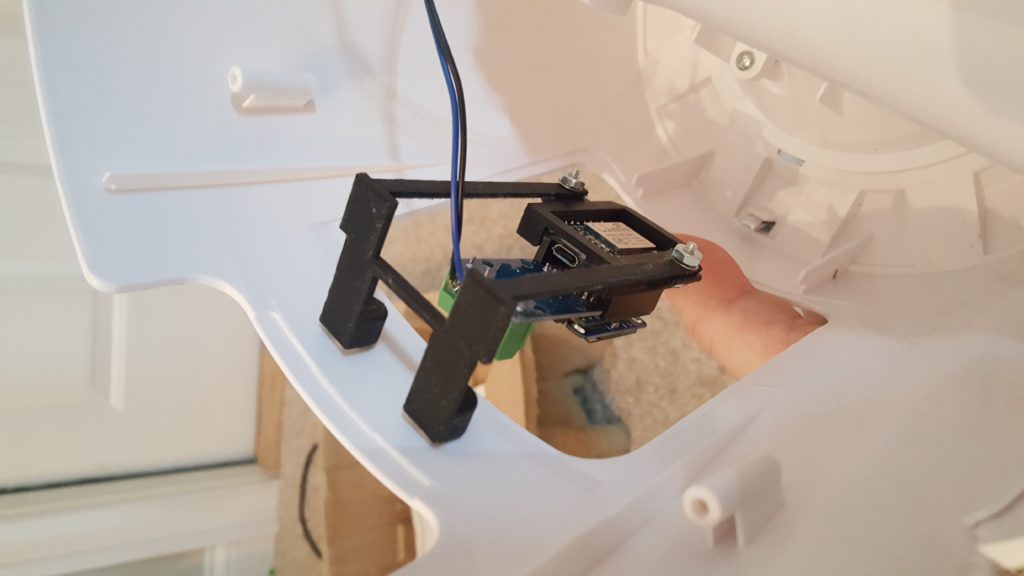
MOUNTING
With all the hard work done, the rest of the effort involved getting the display mounted. There were a bunch of ways to approach this, but I designed a small holder and printed it to hold the display and controller in front of the existing window in the feeder.
FEED AWAY
And that’s about it – the project isn’t without room for improvement to be sure, but now when the cat’s meowing from across the house in the middle of the night, I can roll over and feed her from my phone. Thanks for reading!


